7 September, 2016
Laminated Brioche

Laminated Brioche Dough
I really like making this type of brioche as it is much lighter in texture and is so versatile. One downside to it is that it takes longer to prepare than ordinary brioche dough, but I promise, you won’t be disappointed with the end result. Together with the recipe showing and explaining step by step making method, I will share couple of ideas of how you can use it to bake gorgeous treats.
For the brioche dough
250g White strong bread flour
250g White plain flour
10g of salt
80g Sugar
100g Unsalted room temperature butter (cut in to cubes)
4 Free range eggs
100ml luke warm milk
7g dry yeast
For the lamination
250g block of cold butter
~~~~~
METHOD
In a stand mixer bowl place flours, salt, sugar and yeast and mix through with your fingers.
In another small bowl crack all eggs and lightly beat them with a fork.
Place mixer bowl with flour on a stand mixer and start mixing on a low/med speed with a hook attachment. Now add beaten eggs little bit at a time while the mixer is running. When all eggs are in and incorporated, start adding milk following by cubed butter, add couple pieces at a time. The mixer will be working all the time and the whole process should take not less than 10 minutes until the dough will starts developing gluten and becomes more pliable and silky smooth.
When the process is finished remove the hook, cover the bowl with a cling film and let it rise in room temperature for an hour. After that, place the bowl in the fridge for at least 3-4 hours to rise further.
Now, let’s start lamination of the dough. Take the butter out of the fridge and place it on the piece of parchment paper, cover it with another sheet of paper and using rolling pin start pushing it down and rolling it in to approximately 15x20cm (6x12inch) rectangle. And place back in the fridge together with the paper.
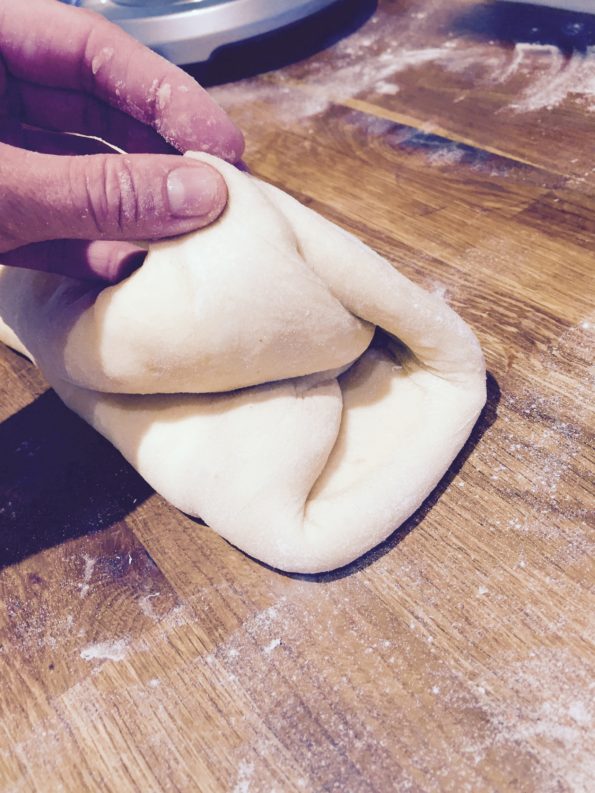
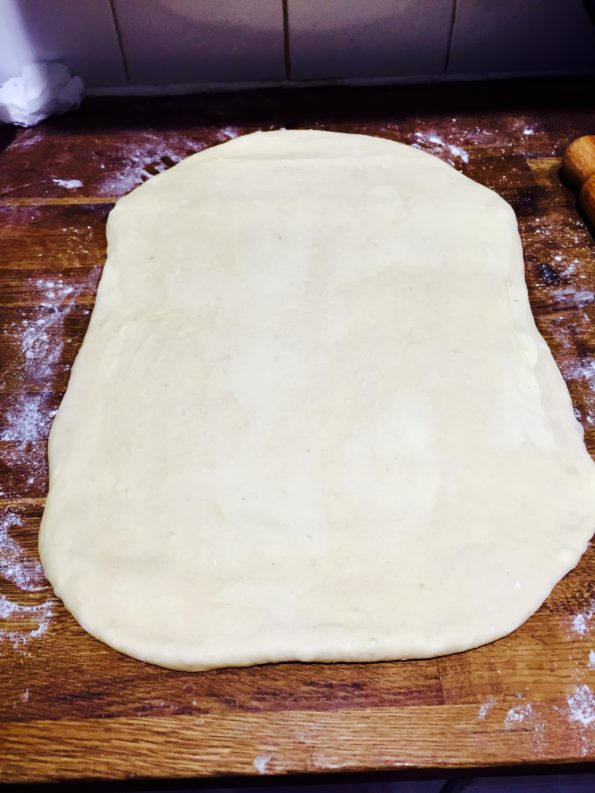
Lightly flour the working surface and tip out the dough which was resting in the fridge. Using rolling pin roll out the rectangle the size of the butter block 20x40cm (7x24inch). Place the butter block on top, on the side closest to you, with a border of about 5in on the three sides that are nearest to you
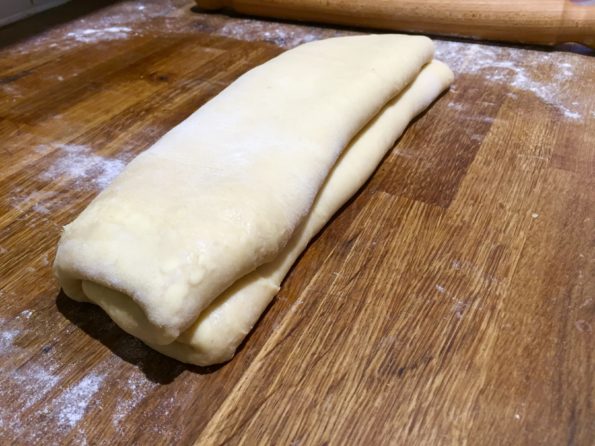
Starting with the side farthest from you, fold the dough towards you, over the butter block, so it covers about half of the butter block. Then, fold the side closest to you over that together with uncovered butter block so you have an even rectangle that is five layers: dough-butter-dough-butter-dough. Press the edges together so you can not see any of the butter peeking out on the sides, then roll it out with a rolling pin to a rectangle that’s about 19 in x 7 in.
Rotate the rectangle you have just made 90 degrees so the seam is closest to your right hand.
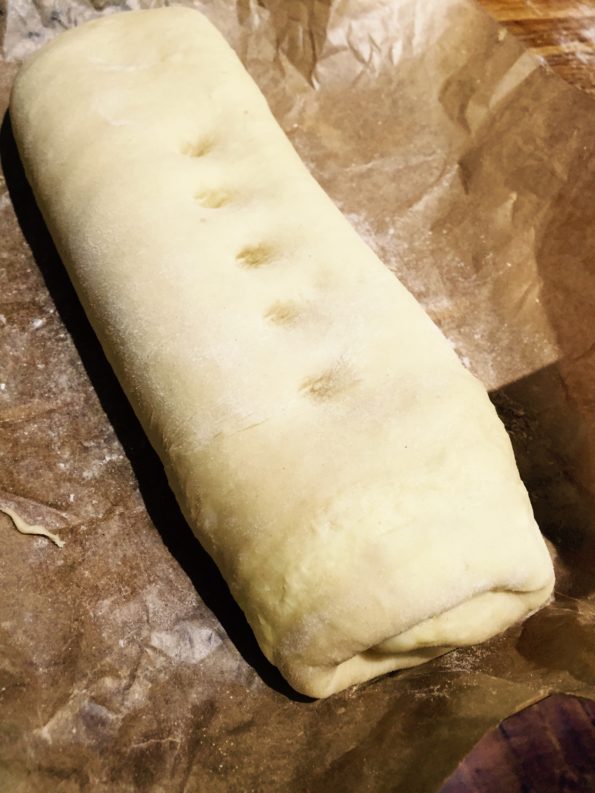
Press lightly with a large rolling pin at all edges to start the flattening process. Begin rolling gently into a large rectangle that is about 5inch thick and about three times as long as it is wide. Fold the rectangle into thirds. Place on a baking sheet and cover with plastic wrap. Rest the dough in the fridge for about two hours.
If you’re in a hurry (but why hurry?), place the dough into the freezer for about one hour, then move it to the refrigerator to temper slightly.
You can repeat the process for 3-4 times, chilling the dough in between each fold.
After last chill, use it out to the thickness to which is needed depending on what you are making.


4 thoughts
Do you have a video?
Im terrible at putting written instructions to use.
A video, for me is much easier to understand, especially for a novice.
Much appreciated if you decide to make a vid.
Hi Luke,
I’m afraid I don’t 🙁 will make any time soon 🙂
I’ll give it a shot anyway, thanks for the fast reply.
You have a nice website and some moorish looking recipes, nice photography.
Have a good day and keep baking!
Thanks for posting!
If I’m reading correctly the process is about 12 hours until use of the dough. When I make croissant dough I rest it overnight breaking up the making time into more manageable periods. Is there a recommended point in this dough process that an overnight rest would work?